What can one expect to have as consequence when an unemployed youth sits and watches food shows on NDTV Good Times all day, I mean other than the feeling that there's nothing Good about the current Times? Quite obviously it stirs a hunger so profound it's almost religious, and one that leads to kitchen experiments and yet another blog post.
So, Vicky (Ratnani, of course) was making a delectable fish in citrus. (Yes, I like to refer to him on first name basis 'cause he and I are friends. You see, we do hang out quite a bit all day, everyday. I follow him on Twitter too, if that helps.) Watching him prepare that dish with so much fervor combined with tender love got me ravenous. Before I knew it I had driven across to Kailash Colony and was purchasing ingredients.

No, I was not replicating his TV efforts. Yes, I was planning on indulging in some comfort food, and for me Italian food spells comfort. However, I wanted the comfort to be a bit of a challenge this time and so I decided to embark on the not yet explored territory of some good, home made gnocchi. (For those of you who do not know what that is, please Google it :p].
I must add before I proceed that I had originally planned on making myself Gnocchi in Bacon Sauce, but lo! and behold! Star Bazaar stocked only chicken and mutton based products. My only choices were to drive till Khan and buy bacon or settle for Chicken Ham instead. No prizes for guessing I compromised!
Note to the Supermarket in question: Do not worry, Star Bazaar. This is not a libel against you, for you are only catering to your clients' tastes and preferences, but South Delhi, especially, you Mr. oh-so-posh Kailash and neighbours -- you do not partake of bacon or any other piggy products? Royal shame!
I got home in no time and was soon working meticulously towards my virgin attempt at home-made gnocchi. Recipe below:
Ingredients
For the Gnocchi:
Potatoes - 500 to 750 grams
All purpose flour (Maida) - 250 grams (Note: A few 100 grams up will do, but will only make the gnocchi heavier)
Salt - to taste
Extra Virgin Olive Oil - 1 tablespoon
Egg (yolks only) - 2
For the Chicken Ham Sauce:
Butter - 1 tbsp
All Purpose flour - 1 tbsp
Milk (cold) - 1 glass
Cheese - 1 to 2 cubes (grated)
Salt and Pepper - To taste
Chicken Ham - 150 grams (Add or deduct as per personal preference)
Onion - 1/2 chopped length-wise
Method
For the Gnocchi:


So, Vicky (Ratnani, of course) was making a delectable fish in citrus. (Yes, I like to refer to him on first name basis 'cause he and I are friends. You see, we do hang out quite a bit all day, everyday. I follow him on Twitter too, if that helps.) Watching him prepare that dish with so much fervor combined with tender love got me ravenous. Before I knew it I had driven across to Kailash Colony and was purchasing ingredients.
No, I was not replicating his TV efforts. Yes, I was planning on indulging in some comfort food, and for me Italian food spells comfort. However, I wanted the comfort to be a bit of a challenge this time and so I decided to embark on the not yet explored territory of some good, home made gnocchi. (For those of you who do not know what that is, please Google it :p].
I must add before I proceed that I had originally planned on making myself Gnocchi in Bacon Sauce, but lo! and behold! Star Bazaar stocked only chicken and mutton based products. My only choices were to drive till Khan and buy bacon or settle for Chicken Ham instead. No prizes for guessing I compromised!
Note to the Supermarket in question: Do not worry, Star Bazaar. This is not a libel against you, for you are only catering to your clients' tastes and preferences, but South Delhi, especially, you Mr. oh-so-posh Kailash and neighbours -- you do not partake of bacon or any other piggy products? Royal shame!
I got home in no time and was soon working meticulously towards my virgin attempt at home-made gnocchi. Recipe below:
Ingredients
For the Gnocchi:
Potatoes - 500 to 750 grams
All purpose flour (Maida) - 250 grams (Note: A few 100 grams up will do, but will only make the gnocchi heavier)
Salt - to taste
Extra Virgin Olive Oil - 1 tablespoon
Egg (yolks only) - 2
For the Chicken Ham Sauce:
Butter - 1 tbsp
All Purpose flour - 1 tbsp
Milk (cold) - 1 glass
Cheese - 1 to 2 cubes (grated)
Salt and Pepper - To taste
Chicken Ham - 150 grams (Add or deduct as per personal preference)
Onion - 1/2 chopped length-wise
Method
For the Gnocchi:
- Begin with boiling the potatoes. Peel and mash them once boiled and allow them to cool to room temperature. It would be best to use a potato masher in order to minimize the number of lumps, but in case you don't have one (In my super equipped kitchen -- read barely equipped -- in Delhi, I quite obviously did not have one. Sigh! Home is a blessing!) use a fork followed with clean hands, instead. You shall get the same result.
- Put the mashed potatoes on a lightly dusted work surface and create a well in the center.
- Now, separate the eggs ( I successfully managed to do the same with no prior experience so separating shall be no task) and pour the yolks into the well.
- Pour the 1 tablespoon of Olive Oil into the well too. Now mix them gently into the potatoes.
- Take the all purpose flour in a separate bowl and mix the salt into it. Now add this to the potatoes, gently kneading into a dough that soon enough appears to have a crumbly texture. Make sure you add more flour if the dough is sticky.
- Once the dough is ready, tear off a fistful of the dough and roll into a rope that is approximately 2 cm thick, over your lightly dusted work surface. Now cut into bite sized pieces. You can leave these pieces as they are or give them the traditional concave shape using the back of your fork.
- Repeat process to make desired number of pieces of gnocchi, as the dough is actually more than what can be used in a single go. (You can store the remainder in the freezer and use it well within 2 months)
- Bring a large saucepan of lightly salted water to a gentle boil. Add the gnocchi and cook for 2 minutes or till they float up to the surface. Your gnocchi is ready!
Method
For the Chicken Ham Sauce:
- Heat the butter in a saucepan till it melts into a lovely, yellow liquid.
- Add the flour to this and cook till golden brown or till you can smell the lovely aroma of the bubbling flour undergoing radiant chemical change.
- Now add the glass of cold milk to this, stirring continuously, making sure the mixture has been smoothly incorporated into the milk.
- Add the salt, pepper and grated cheese to this and bring to a boil. Cook for another 5-7 minutes or till the sauce thickens.
- In a separate non-stick pan heat olive oil and cook the chicken ham and onions in it for at least 7 minutes or till the onions attain a golden hue.
- Add this to the Bechamel Sauce prepared above and cook over medium heat for another 2 minutes.
- The Chicken Ham Sauce is ready.
Now, you can choose to either combine the gnocchi into the sauce or pour the sauce over the gnocchi. (It matters not!) Serve hot and bask in the glory of the compliments you shall receive if you care to share like I did.
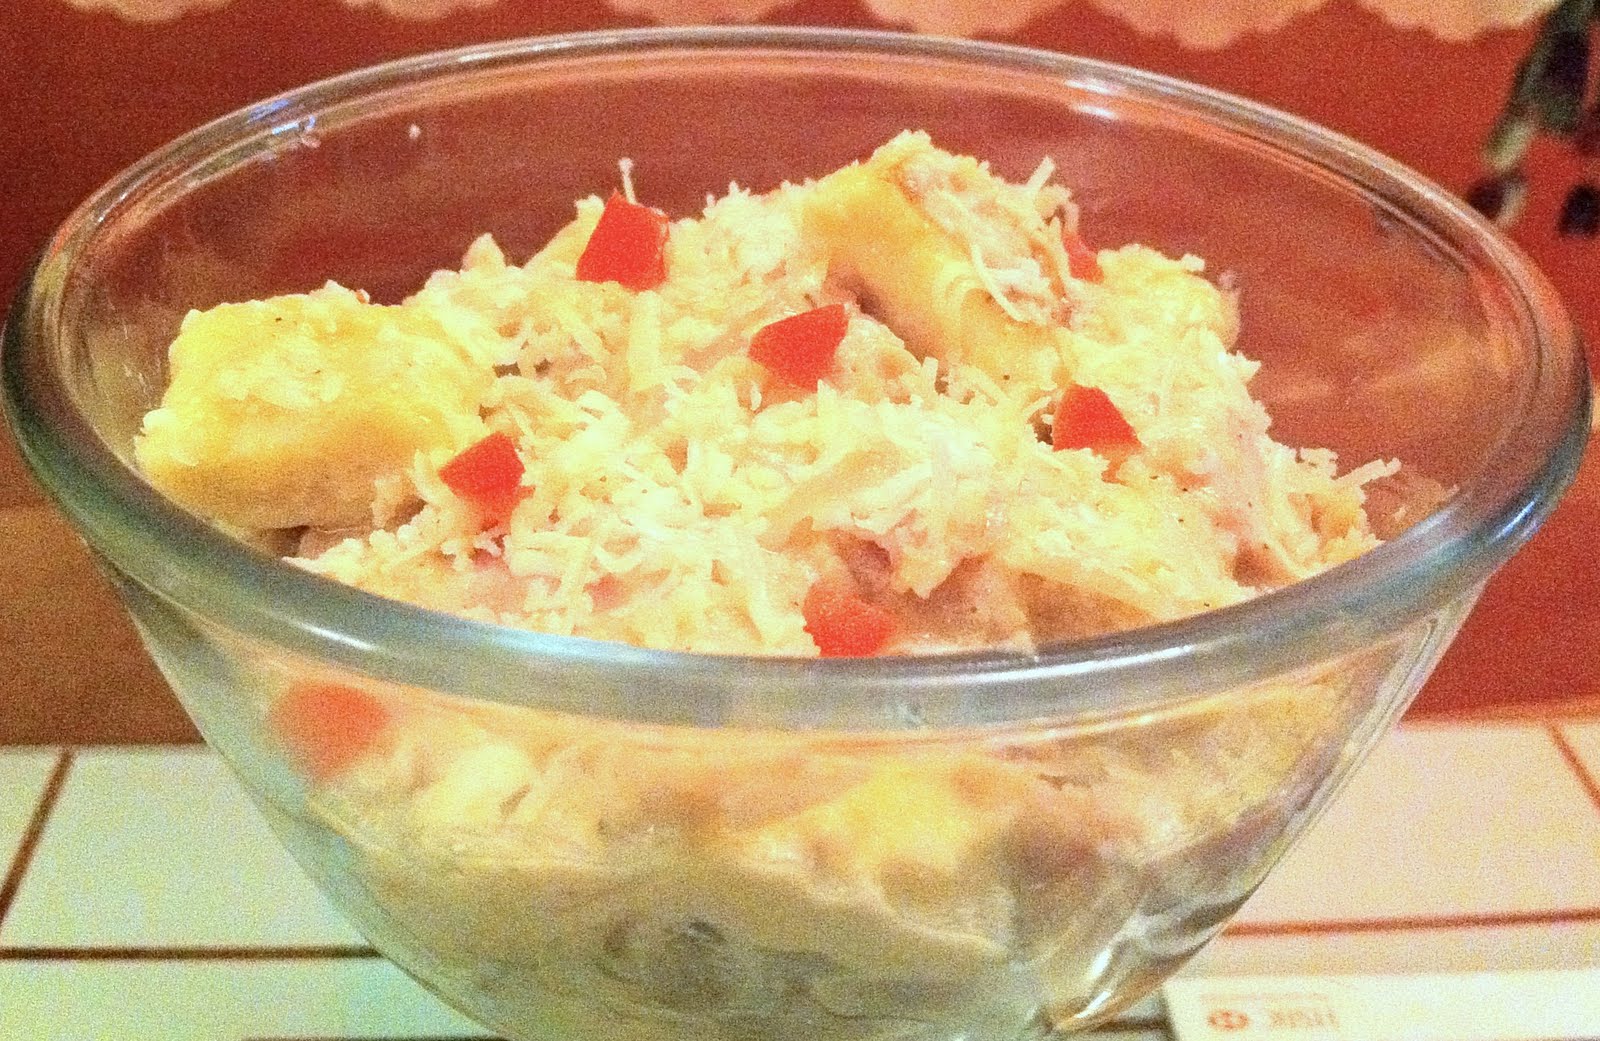
Please do not mock the presentation too much, or that you can barely tell the gnocchi from the ham, but simply discount it given the fact that I had to make do with whatever best available crockery and camera I had at my disposal. So go on, don't judge, simply DIG IN!!!


